Showing posts with label home projects. Show all posts

12.07.2011

How to Make Tile Coasters

Here is a fun project that will make a great gift for the upcoming holiday season! Follow this easy tutorial and in one afternoon, you will have a wonderful gift for neighbors, co-workers, teachers, etc! Or pair with a bottle of liquor or 6-pack of beer for the guy in your life - they are always so hard to buy for :)

Here are my supplies, as seen in the picture: 

  • Tiles - any size, any style (the ones I used are 1x1 inch, already spaced - from Home Depot $4.99, in blue & brown)
  • Tile setting mat - sticky plastic to hold the tile in place
  • Cork board - this should be sturdy, as it will be the base of the coaster
  • Grout - any color, feel free to experiment
  • Float - to spread the grout (these can be found at Home Depot)
  • Sponge - to clean off groat after is has dried 
Not shown:
  • Scissors 
  • Table covering
  • Plastic gloves 


The first step is to determine how big you want your coasters to be. I decided on 4 x 4 rows, cut that and then cut the tile placement mat and cork backing to match. 


Then, with the cork on the bottom, line up the tile sticky mat and place that on top to match, finish by securing the tiles to the top, like this: 
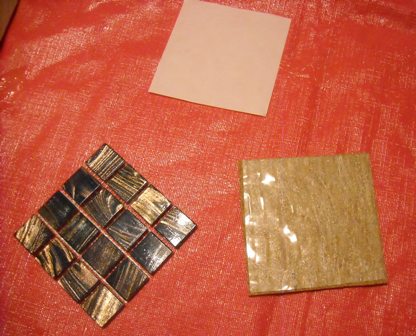

Because we are using the tile placement mat, there is no need to wait between setting the tile and applying grout. For this project, I used a sandstone colored grout. With your gloves on to protect your skin, use your float to start filing in the grids of your coasters. 

After finishing the top, you'll need to go back and carefully fill in the sides with grout as well. This will require some light sanding after you are done.


When I was finished with both sets of 4, it was time to let them dry and rest up!


I made the rookie mistake of leaving the grout on too long but the good news is that it will still come off. The bad news is that the scrubbing required some extra time and elbow grease. 


Here is one of each of the finished coasters.


And finally - the finished product! Replace the pink and blue ribbon that I used with a fun holiday ribbon and stick in a few small ornaments decorations or Christmas flowers instead.


12.02.2011

From the Archives - Decoupage Fabric Plates

Every so often, I like to post popular tutorials from my archives - here is a full tutorial on how to make decoupage plates, using clear glass plates and cotton fabric. Don't let the Yankees fabric fool you, I am a proud Boston Red Sox fan!
 
I'll be posting some holiday plates this weekend that I have recently made, to give you some ideas for gifts. These are great for cookie swaps, neighbor or teacher presents also. 

Here's what you will need to complete this project: 

  • Round or square glass plates
  • Cotton fabric, in any design
  • Modge Podge, regular or with glitter
  • Scissors
  • Table covering
  • Paint cans to hold the plates while they dry
  • Matte or gloss clear spray paint


Start by finding some inexpensive glass plates, either at the consignment store or home goods store. Wash them and dry them completely. Next, cut the fabric about 1-2 inches wider than the plate you are using.

Put your first plate face down on a paint can and the piece of fabric face down on the table covering. Cover the back of the fabric with Modge Podge, flip it over carefully and cover the front generously as well. Then, lift the fabric off the table and place the design face down so that the design of the fabric is facing out (see picture). Use additional Modge Podge if necessary.

Use your hands to work out any air bubbles in the fabric, from the center out. Depending on the thickness and texture of the fabric, this may take some time. Move the plate to another paint can to dry thoroughly. Modge Podge goes on white and dries clear so you will be able to tell when it is ready for the next step.

Repeat for as many plates as you have. I made 3 New York Yankees plates, a gray & pink bird plate, which are both in my Etsy Store and a black striped plate, which didn't turn out the way I wanted and was scraped before the final step. Here is a production picture of them drying.

Once dry, carefully trim the excess off with a razor blade so that the edge is flush with the plate. (step not shown

In a well ventilated area, place the plates face down again on the paint cans. Using your clear spray paint, spray the backs of the plates completely. 

Finally, clean off any excess glue or fingerprints on the front with glass cleaner and paper towels. 

When you are all finished, your plates should look like this:

 
Happy Crafting - feel free to send me a link or picture if you try this project!

10.17.2011

Crafty iPhone Apps

When upgrade time for my phone finally came around, I was able to convince my hubby that I needed a new iPhone 4S. No, we didn't run out and pick one up last Friday; I pre-ordered it so it would be delivered to the house this week because, well...frankly, I work from home and couldn't be bothered to fight the crowds. So I will wait a few extra days to get it but in the meantime, here are some fun, crafty apps that you might want to consider downloading! 

  • Disney FamilyFun's Craft Finder Application
    • find crafts by age, time and season
    • shopping list generator
    • step by step how-to guides
    • share your crafts via Facebook and Twitter
  •  Stitchminder (for knitters)
    • track rows completed
    • pattern rows, increase and decreases
    • counters can be configured to count upwards or downwards
    • counts are always stored when you close the program or get interrupted by a call

  •  Coolibah (digital scrapbooking)
    • create scrapbook pages on your iPhone, using camera phone photos or other imported images
    • save your pages and work on them later
    • with upgraded app, you can export high resolution images to use on your home computer or to print
      • Free version of the app includes the Coolibah watermark - semi bummer
  •  Etsy Addict
    • browse the Etsy site, search, browse by category and add favorites
    • keep tabs on your stores feedback and sales count
    • don't miss out on Etsy shopping opportunities, no matter where you are!

What are some of your favorite crafty apps? 

9.30.2011

Decorative Fall Arrangement Vase and Frame

I saw a great idea online the other day, to use a vase as a picture frame so I decided to add a twist on that idea by making a fall decor mantle piece that doubles as a frame.

Here are the supplies that I started with:

  • Apple ornaments (bought at a tag sale for $0.50)
  • Pumpkin accents (can be found at any craft store for about $2-$3)
  • Pine cones, in differing sizes (real or decorative, I got these off of Freecycle)
  • Raffia decoration (also from Freecycle)
  • Krylon spray paint in Caramel Latte color
  • Cynlinder vase


I started by trimming my picture with a paper cutter, to ensure straight cuts, and lining it up in the front of the vase. I put two small pieces of clear tape on the sides to keep it in place. Then I started stacking the pine cones, apples and pumpkins on the bottom, with some raffia to fill in the gaps. 


I spray painted a handful of the pine cones and pumpkins to give the arrangement more character. I didn't cover them entirely and liked the way that effect looked.


 I continued to layer the pieces until the vase was just past the top. Here is the view from the back: 


And the view from the front - I love this black & white photo of me and my hubby dancing at my friend Kerry's wedding last year.


This could easily be used for any season; replace the pine cones and pumpkins with Christmas bulbs or plastic Easter eggs for Spring. I just love the idea of using interesting glass pieces as frames!
Tip Junkie handmade projects

9.26.2011

Arched Mirror Frame Makeover

I found this hunter green arch frame, in need of a little love, about a year ago for $2.00 at a tag sale and haven't had time to make it over until this past weekend. Here is a "Before" picture - dirt and all!


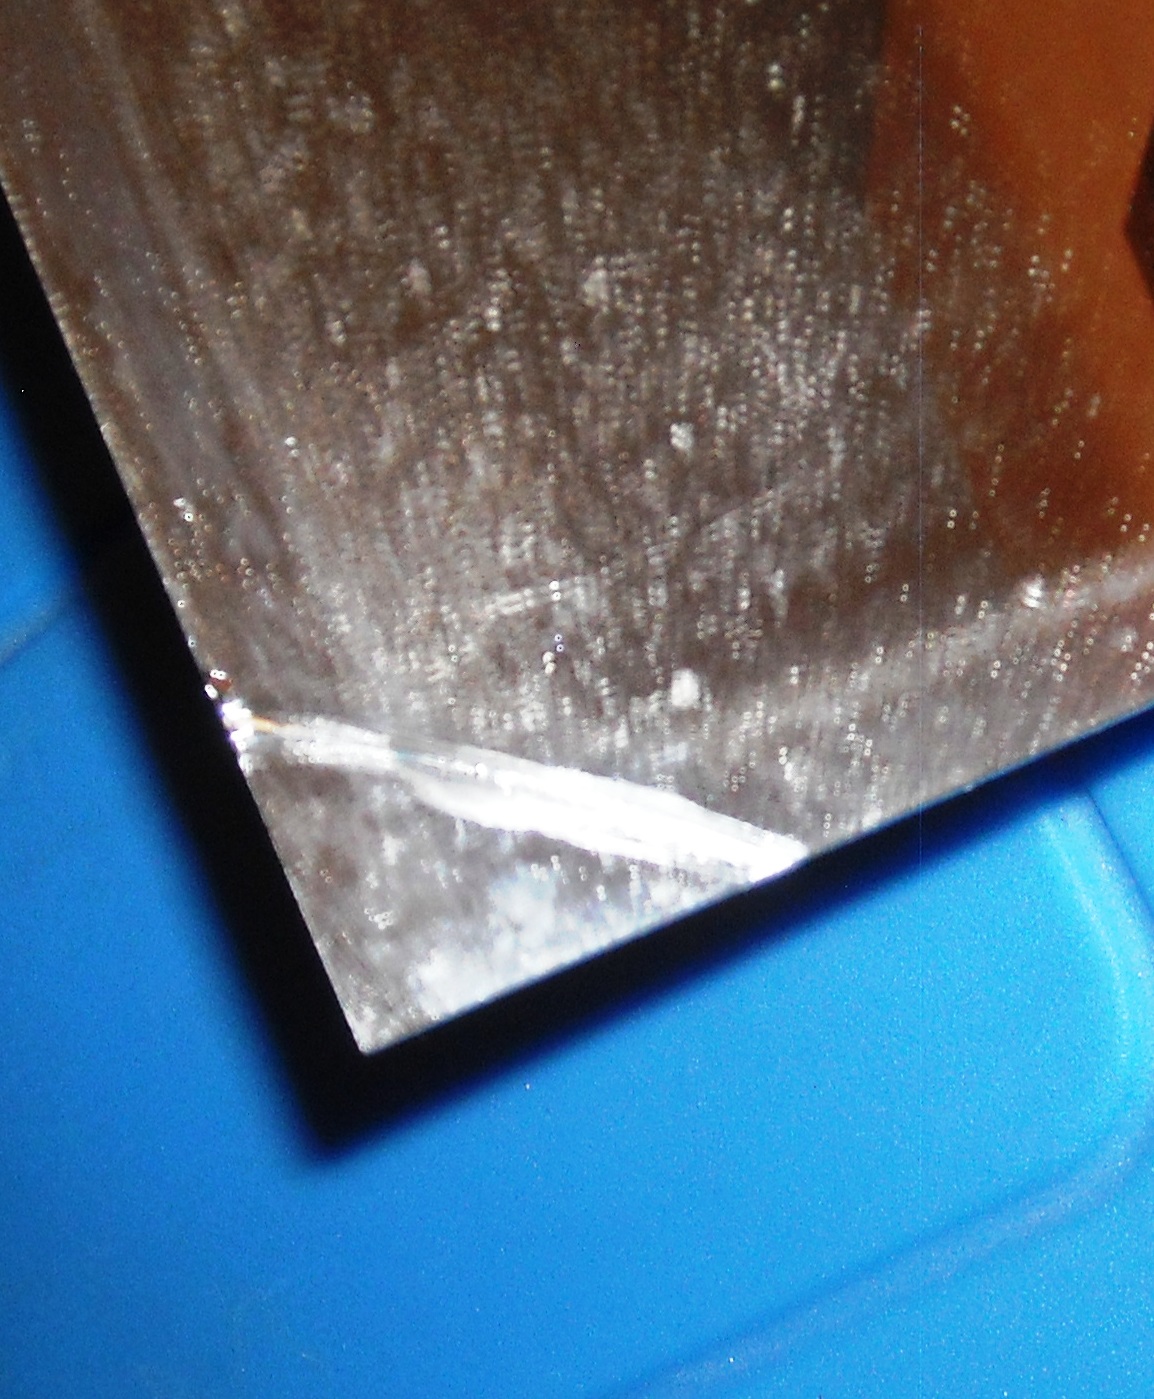
I was going to tape off the mirror part to paint the frame when I was pleased to discover that the mirror was able to be detached from the frame. However, in my excitement, I cracked a corner of the mirror - doh!
With a little tacky glue, I glued the corner back on and hoped it wouldn't be too noticeable by the end.


Next, I added two coats of a light green paint to the frame, breaking in between so it could fully dry. This frame is going on a dark blue accent wall and the rest of the room is this same light green color.


Because I had painted the frame flat on the newspaper, I had to do a tad bit of sanding on the backside to make sure the edges were clean and neat. After that, I cleaned the mirror and put it back into the frame, securing the rivets on the back and also adding some hot glue on the corners for added staying power. 


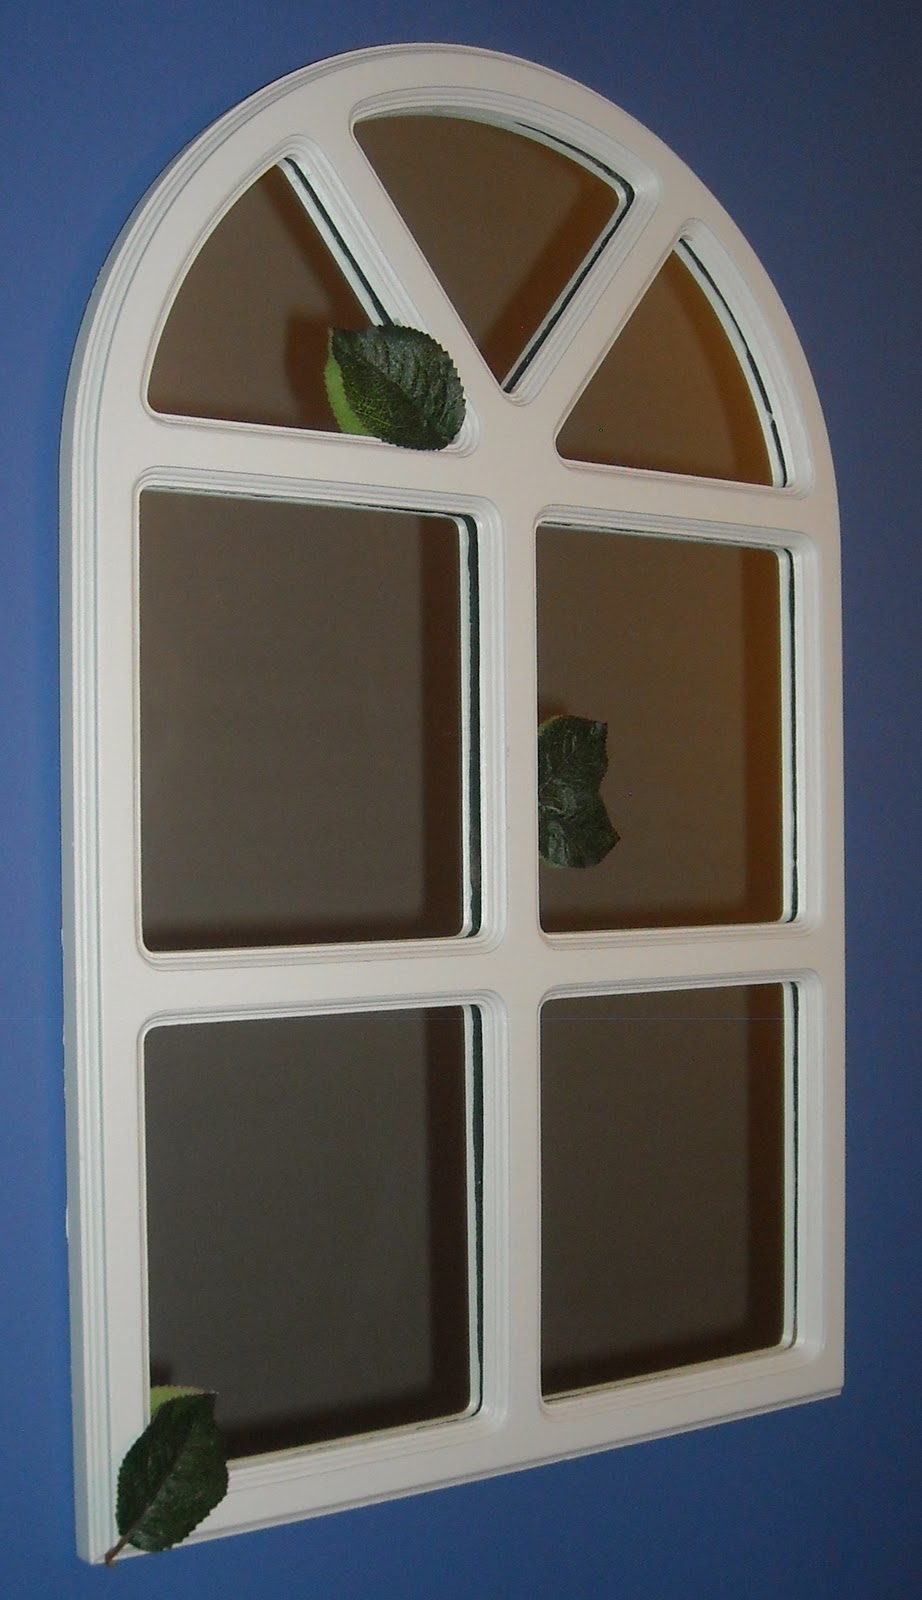
Once the frame was put back together, I added a few fabric leaves for effect...and also to cover that pesky little crack in the bottom corner, from earlier. 


And finally, here is the frame hung in its proper place; the hallway entrance to our bedroom. 


It looks great against the accent wall - for just a couple of dollars and a few hours of work, I couldn't have found a more perfect wall hanging in any store!

Tip Junkie handmade projects

8.22.2011

Crafty Links - Babycakes Approved

It's Monday and while I'm full of energy, I'm going to make sure I use it on my lamp project. I used yellow fabric paint last night on the alternating panels. The goal is to try and make it unisex, while I try to be patient for the next week before we find out if this little bean is a boy or a girl. 

In the meantime, let's check out some crafty links!
  • Another food craft project that sadly for me, involves liquor. But I will keep it on the list for a fun party dessert in the future - Vodka Soaked Gummy Bears from That's So Michelle. Looks like this would work with gummy Life Savers too. Yum!!
  • I'm beginning to really love anything with pinwheels and these Pinwheel Placemats are no exception! Spruce up some plain mats that you already have or find some at the thrift store for this fun project from Positively Splendid

8.17.2011

Getting Inspired by Crafty Celebrities

Last weekend, Jessica Alba gave birth to her second child, daughter Haven Garner. She's never been shy about her love for crafts, even Tweeting this statement just over a month ago: 


Jessica Alba Jessica Alba on Twitter 
Headed 2 do some flea market furniture shopping for nursery. Do any of u like antique furniture shopping? Got before n after pics?
Updated 38 days ago via Twitter for BlackBerry®


Inspired by her love for breathing new life into previously-loved items, I decided to create a decor piece for the nursery that we are putting together in our own home. Here is the before picture - be on the look out for my tutorial and results, coming soon!


7.26.2011

Crafty Links - Babycakes Approved

7.14.2011

Decoupage Foot Stool

As you may have noticed, I'm of the mind set that pretty much anything can be decoupaged. A few years ago, I helped my mom make some holiday gifts for her co-workers; decoupaged wooden stools that can be used as either plant stands or foot stools. Here is one that I made for myself - it has come in particularly handy under my work desk, to relieve some of my pregnancy back pain:


I used Modge Podge and cotton fabric for the top with some ribbon on the sides. It was easy to smooth the fabric down and fold it underneath, similar to the sides of a gift wrapped package. I painted the legs of the stool black first and once dry, I covered it with a clear coat of silver glitter. Here is a side view - you can see the folded corners and ribbon from this angle too.


These stools are an easy afternoon project and the base can be found fairly inexpensively at any unfinished wood store. Total cost was less than $5.00. You could give as a gift with a potted plant or use kid-friendly fabric design to create a stool they can use when they brush their teeth. Use your imagination with different fabrics and stains/paints to make fun gifts for just about anyone.

7.10.2011

Before & After - Doorstop Project

Project: a doorstep that I received from my Nana's house, looking a little worse for the wear, complete with rust spots. I knew I could give it a makeover and find a home for it here. 

Needed for makeover: a can of Rustoleum in dark bronze, small purple gems and gold glitter paint

Approximate time: 1 hour (not included time for drying in between spray paint coats)

BEFORE

AFTER

6.01.2011

From the Archives - Crafty DIY Bird Feeders

I'm using all my might to "wish away" the impending storm, set to hit parts of New England. While I sit here and hope that the tornado activity stays away from CT, here's one of my favorite posts from the archives:

Here are a few of my favorite tutorials that I have discovered for making your own crafty bird feeder.

First up is the idea that inspired my post today - a fun project with a rustic feel & nature-friendly results via Cassy as of Lately. The best part is you probably already have everything you need in the house!

This cute idea I recently came across is an easy weekend project and would work perfectly if you have young kids around. Courtesy of My Own Ideas, click here for the tutorial to make these pretzel birdie treats. 


Another fun idea to do with the family, requires simply a bag of bird food, gelatin, twine and some fun shaped cookie cutters. (Alpha Mom)


And my personal favorite, because I love any teacup and teapot related crafts, this tutorial comes from Tip Nut.


5.14.2011

The Streak is Broken...

As many of you know, and were inconvenienced by, Blogger was down for over 20 hours between Thursday and Friday. Which means that even though I've been doing my best job to post daily, the streak was broken.

While I was bummed, I guess the important lesson is that sometimes things will prevent me from delivering fun craft projects (both my own and others) but in the meantime, I realized that I really like writing this blog!

Even though I don't always have new projects, I like that I can connect with other craft-minded people for inspiration and for feedback. I also like sharing my projects with people besides Bunch. Although he's always supportive, I can't imagine it's interesting for him to hear about yet another decoupage project?


This weekend, I'm hoping to have some time to work on new projects, as well as a tutorial or two for future posting. Between Easter, Mother's Day and all of the construction going on in our bedroom, I feel like I haven't had much time to work in my craft room so I'm super excited to have some girl-time (and to get some sleep!).

What are your plans for the weekend? 

4.25.2011

Bedroom Renovations Update

Today marks the start of Week 3 of renovations on our bedroom. The ceiling is done, the painting is almost done and the carpet doesn't come until next week so while we make ourselves comfortable on the other side of the house - here is a picture of our bedroom from the far corner under the windows.


Bunch is painting the inside of the walk-in as I sit here and type. He is using the same blue paint as the accent wall above. Here's a different view -


As you can see, the closet is the first door and the other plastic covered door is the master bathroom. On the wall in between, I just bought this from Wallies.com to go above the dresser that sits on the outside of the walk-in. Bunch is hoping it matches, I think it will because the other walls are a calm, muted green.

And I even managed to find an ivy plant similar to the one in the picture! 


It's been a little tough getting into any craft projects because of all the confusion with the house being under construction but I'm expecting all of that to change soon. My craft room should be back to normal by the end of the month as well. All good things!