Showing posts with label no-sew. Show all posts

12.07.2011

How to Make Tile Coasters

Here is a fun project that will make a great gift for the upcoming holiday season! Follow this easy tutorial and in one afternoon, you will have a wonderful gift for neighbors, co-workers, teachers, etc! Or pair with a bottle of liquor or 6-pack of beer for the guy in your life - they are always so hard to buy for :)

Here are my supplies, as seen in the picture: 

  • Tiles - any size, any style (the ones I used are 1x1 inch, already spaced - from Home Depot $4.99, in blue & brown)
  • Tile setting mat - sticky plastic to hold the tile in place
  • Cork board - this should be sturdy, as it will be the base of the coaster
  • Grout - any color, feel free to experiment
  • Float - to spread the grout (these can be found at Home Depot)
  • Sponge - to clean off groat after is has dried 
Not shown:
  • Scissors 
  • Table covering
  • Plastic gloves 


The first step is to determine how big you want your coasters to be. I decided on 4 x 4 rows, cut that and then cut the tile placement mat and cork backing to match. 


Then, with the cork on the bottom, line up the tile sticky mat and place that on top to match, finish by securing the tiles to the top, like this: 
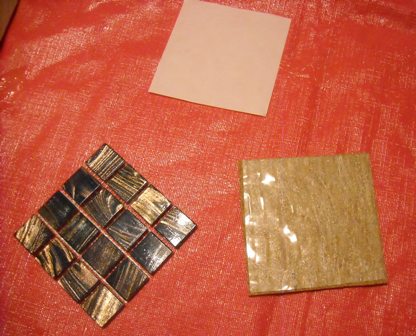

Because we are using the tile placement mat, there is no need to wait between setting the tile and applying grout. For this project, I used a sandstone colored grout. With your gloves on to protect your skin, use your float to start filing in the grids of your coasters. 

After finishing the top, you'll need to go back and carefully fill in the sides with grout as well. This will require some light sanding after you are done.


When I was finished with both sets of 4, it was time to let them dry and rest up!


I made the rookie mistake of leaving the grout on too long but the good news is that it will still come off. The bad news is that the scrubbing required some extra time and elbow grease. 


Here is one of each of the finished coasters.


And finally - the finished product! Replace the pink and blue ribbon that I used with a fun holiday ribbon and stick in a few small ornaments decorations or Christmas flowers instead.


12.04.2011

Holiday Decoupage Plates

To follow-up on my decoupage plate tutorial, I wanted to share some holiday plates that I've recently made. 

Classic Poinsettia

Gingerbread Men

Christmas Kitties

 
Glittery Snowflakes


Christmas Dogs w/ lace trim
(the glitter Modge Podge I used for this one didn't photograph well)

Which holiday plate is your favorite?

12.02.2011

From the Archives - Decoupage Fabric Plates

Every so often, I like to post popular tutorials from my archives - here is a full tutorial on how to make decoupage plates, using clear glass plates and cotton fabric. Don't let the Yankees fabric fool you, I am a proud Boston Red Sox fan!
 
I'll be posting some holiday plates this weekend that I have recently made, to give you some ideas for gifts. These are great for cookie swaps, neighbor or teacher presents also. 

Here's what you will need to complete this project: 

  • Round or square glass plates
  • Cotton fabric, in any design
  • Modge Podge, regular or with glitter
  • Scissors
  • Table covering
  • Paint cans to hold the plates while they dry
  • Matte or gloss clear spray paint


Start by finding some inexpensive glass plates, either at the consignment store or home goods store. Wash them and dry them completely. Next, cut the fabric about 1-2 inches wider than the plate you are using.

Put your first plate face down on a paint can and the piece of fabric face down on the table covering. Cover the back of the fabric with Modge Podge, flip it over carefully and cover the front generously as well. Then, lift the fabric off the table and place the design face down so that the design of the fabric is facing out (see picture). Use additional Modge Podge if necessary.

Use your hands to work out any air bubbles in the fabric, from the center out. Depending on the thickness and texture of the fabric, this may take some time. Move the plate to another paint can to dry thoroughly. Modge Podge goes on white and dries clear so you will be able to tell when it is ready for the next step.

Repeat for as many plates as you have. I made 3 New York Yankees plates, a gray & pink bird plate, which are both in my Etsy Store and a black striped plate, which didn't turn out the way I wanted and was scraped before the final step. Here is a production picture of them drying.

Once dry, carefully trim the excess off with a razor blade so that the edge is flush with the plate. (step not shown) 

In a well ventilated area, place the plates face down again on the paint cans. Using your clear spray paint, spray the backs of the plates completely. 

Finally, clean off any excess glue or fingerprints on the front with glass cleaner and paper towels. 

When you are all finished, your plates should look like this:

 
Happy Crafting - feel free to send me a link or picture if you try this project!

11.11.2011

Diaper Cake Tutorial (Baby Shower Weekend)

In celebration of my baby shower being held this weekend, I thought it would be appropriate to post a tutorial for a project that just about anyone can do, not matter what their craft skills may be.

Diaper cakes are a cute and crafty gift, perfect for a mommy-to-be, no matter what gender her bundle of joy will be. Here is a simple tutorial if you would like to try one of these for a pregnant friend or family member. 

This picture of the supplies is not exactly organized but here's the basics on what you will need: 

  • Disposable or cloth diapers; decide how tall you want the cake to be or how much you want to spend, that will determine how many diapers you buy
  • A cardboard base; you can buy cake boards or cut a piece of study cardboard and cover with cute wrapping paper
  • Ribbon; choose your colors based on the gender and make sure to have many different widths 
  • Clear elastic bands to secure rolled diapers
  • Rattles, socks, lotion, pacifiers - extra items for sides of cake
  • Glue gun, tape, scissors, flowers, and wine (for drinking, not decoration!)
  • Cellophane and ribbon for wrapping
The first step is to glue lace around the bottom cardboard base and then start rolling some diapers! 

We used 52 for this cake and it took us about 15 minutes to roll them all. I was initially going to roll them and have Sandy tie them with ribbon but it would have taken too long. A quick trip to the store led us to the clear hair elastics in the picture and still saved about 45 minutes. 

After the diapers are rolled, start lining them up on the base, with the edge facing in, until the outside of the board is covered in a ring of diapers. You may need to use a smidge of rolled tape under each to keep them upright while you are working. We stuffed the center with tissue paper but if you have enough diapers, you can use those to fill the entire circle.

Then, place a slightly smaller cardboard circle on top of the bottom level and repeat the process. We tied some ribbon around the bottom layer while we worked but it's just a temporary hold. The cake isn't sturdy at this point but you can secure it all once the diapers are in place.

Repeat the process from the first layer on the second and third (if applicable). 

If you are using cloth diapers, you will find that as few as 30 will make a full, two tier cake but that will mean your cost could be significantly higher. 

After we finished all three layers and wrapped the layers with thick, wired ribbon with smaller magenta ribbon on top, secured with hot glue, we realized that the top layer was too full (the picture on the side is  the goof-up before we fixed it). There was not enough of a difference between the middle layer and top layer so we simply pulled out one of the diapers from the top layer and pulled the ribbon tight with hot glue for security. Try not to get any glue on the diapers.

 You can see there is one diaper left over in the middle, we used that and the diaper that we removed from the top layer, to hold a bottle of baby lotion in place on top of the cake, creating the illusion of another tier. 

Once we fixed the top layer and positioned the lotion bottle, it was time to adorn the sides of the cake with teeny tiny socks, a package of pacifiers, a rattle (shaped like a diamond ring for the little diva!), small flowers and an adorable star washcloth, with a happy face to celebrate the joyous occasion! 


Of course you will want to cover this cake to protect the diapers, now that they are out of the package. We used rolled cellophane and some ribbon to complete the gift. This also keeps the cake more secure for traveling as well. 


The finished project cost approximately $30 for all the supplies. You can adjust the size of your own cake project based on your own budget. The recipient will certainly appreciate the thoughtfulness of this personalized gift, no matter how much you spend. Happy crafting!

9.26.2011

Arched Mirror Frame Makeover

I found this hunter green arch frame, in need of a little love, about a year ago for $2.00 at a tag sale and haven't had time to make it over until this past weekend. Here is a "Before" picture - dirt and all!


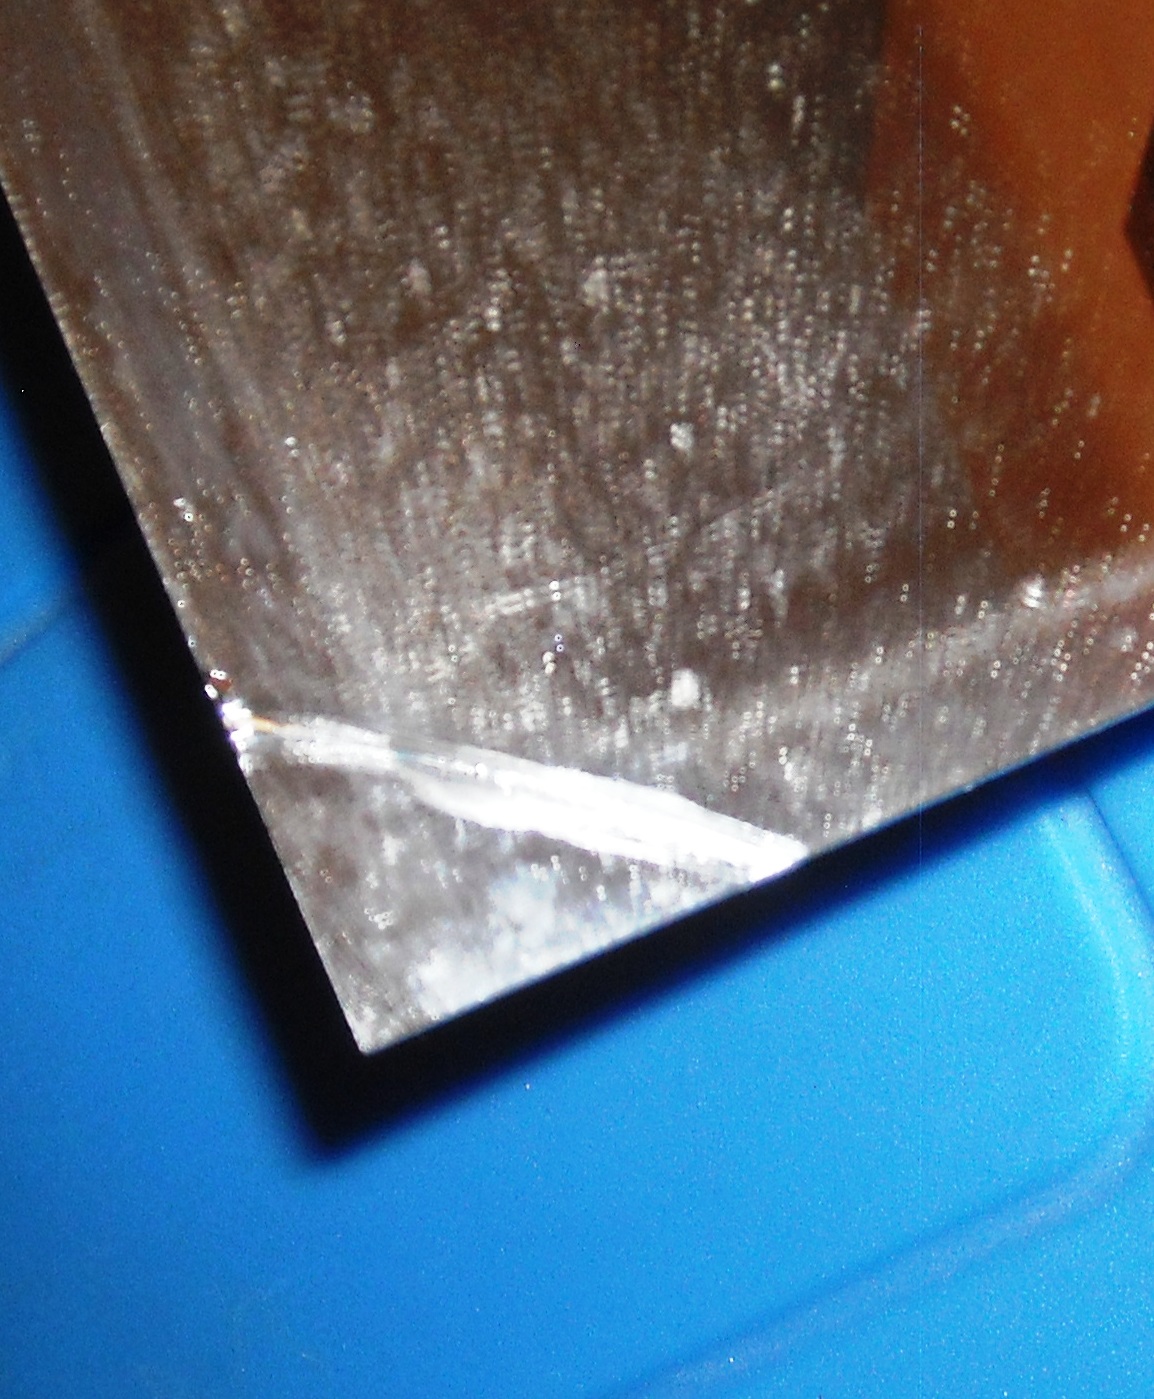
I was going to tape off the mirror part to paint the frame when I was pleased to discover that the mirror was able to be detached from the frame. However, in my excitement, I cracked a corner of the mirror - doh!
With a little tacky glue, I glued the corner back on and hoped it wouldn't be too noticeable by the end.


Next, I added two coats of a light green paint to the frame, breaking in between so it could fully dry. This frame is going on a dark blue accent wall and the rest of the room is this same light green color.


Because I had painted the frame flat on the newspaper, I had to do a tad bit of sanding on the backside to make sure the edges were clean and neat. After that, I cleaned the mirror and put it back into the frame, securing the rivets on the back and also adding some hot glue on the corners for added staying power. 


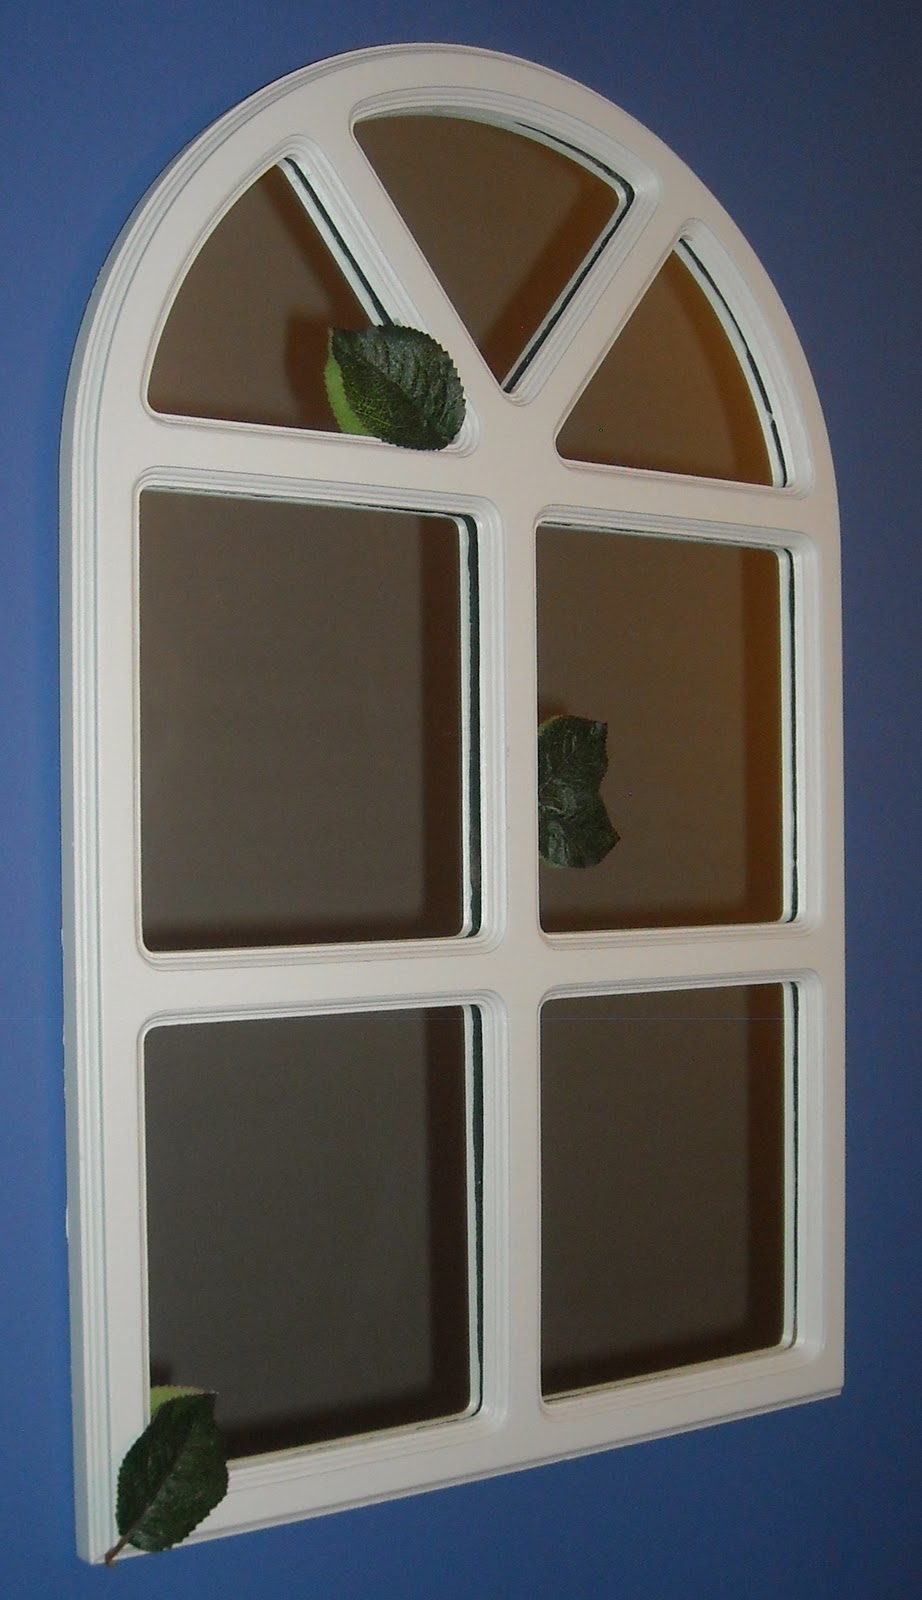
Once the frame was put back together, I added a few fabric leaves for effect...and also to cover that pesky little crack in the bottom corner, from earlier. 


And finally, here is the frame hung in its proper place; the hallway entrance to our bedroom. 


It looks great against the accent wall - for just a couple of dollars and a few hours of work, I couldn't have found a more perfect wall hanging in any store!

Tip Junkie handmade projects

8.24.2011

Nursery Lamp Makeover

As I've mentioned over the past week, I threw myself into a project for the nursery - it's the first time I've had the energy or the inspiration to come up with a new crafty project in quite some time.

Looking at cribs, play yards and nursery decor can be overwhelming so I decided to create some custom pieces for the new nursery that will be appropriate whether the baby is a boy or a girl. (Only one more week until we hopefully find out!)

Starting with a plain lamp that used to be in our living room but we recently replaced - here is the 'before' picture: 


There are 6 panels in the shade so I decided to use an alternating design, starting with some cute monkey fabric that I had stashed away. First, I measured each panel and marked them with small tabs since each one had a slightly different measurement.


Then I created a form out of scrap cardboard so I could trace it on the fabric for accuracy. I had to make three different forms (and mark each cut piece) so that the panels lined up correctly.

Once I had the panels cut out, I set them aside and got to work on the panels that would not have the fabric on them. 

Using a full bottle of bright yellow, soft, fabric plaint and a regular paintbrush, I painted the alternating panels as well as the top and bottom trim of the lampshade. 


After letting the paint dry completely, luckily I only needed one coat, I began working on the fabric panel parts. I spread a thin coat of Modge Podge on the back of the fabric panel and then placed it on the corresponding panel. 
The Modge Podge made the panels a little longer and wider so since the panels were measured very specifically, they had to be trimmed while wet which was a little messy. Since I knew I was adding a trim to the panels afterward, it would have been smart to cut the fabric slightly smaller than my original measurements.

Once the panels were lined up, I took small amounts of Modge Podge on my fingertip and spread another thin layer on the front to secure it to the shade. Repeat this step for all three panels. 

While the panels were still sticky, I used Tacky Glue to attach faux pearl trim to the edges of each fabric panel. This helped hide any rough edges and blend the panels in with the painted sides. 

Lastly, I used the Tacky Glue again to attach bright yellow pom-pom trim to the underside of the lamp shade so that only the pom-poms hung down from underneath. It helps to use a clothespin to hold the start of the trim while you attach the remainder, approximately 6 inches at a time until you reach the beginning. 


Here is the final product, with the matching wall art that I created last weekend - 


Creating your own nursery decor is easy - scope out your own items, tag sales or thrift stores for your starting piece and add your own flair from there. Hey, if Jessica Alba can do it, so can you!

Tip Junkie handmade projects